 TINT REBEL
Track Your Order
Enter your details to check order status
TINT REBELEnter your details to check order status
Installation Guide
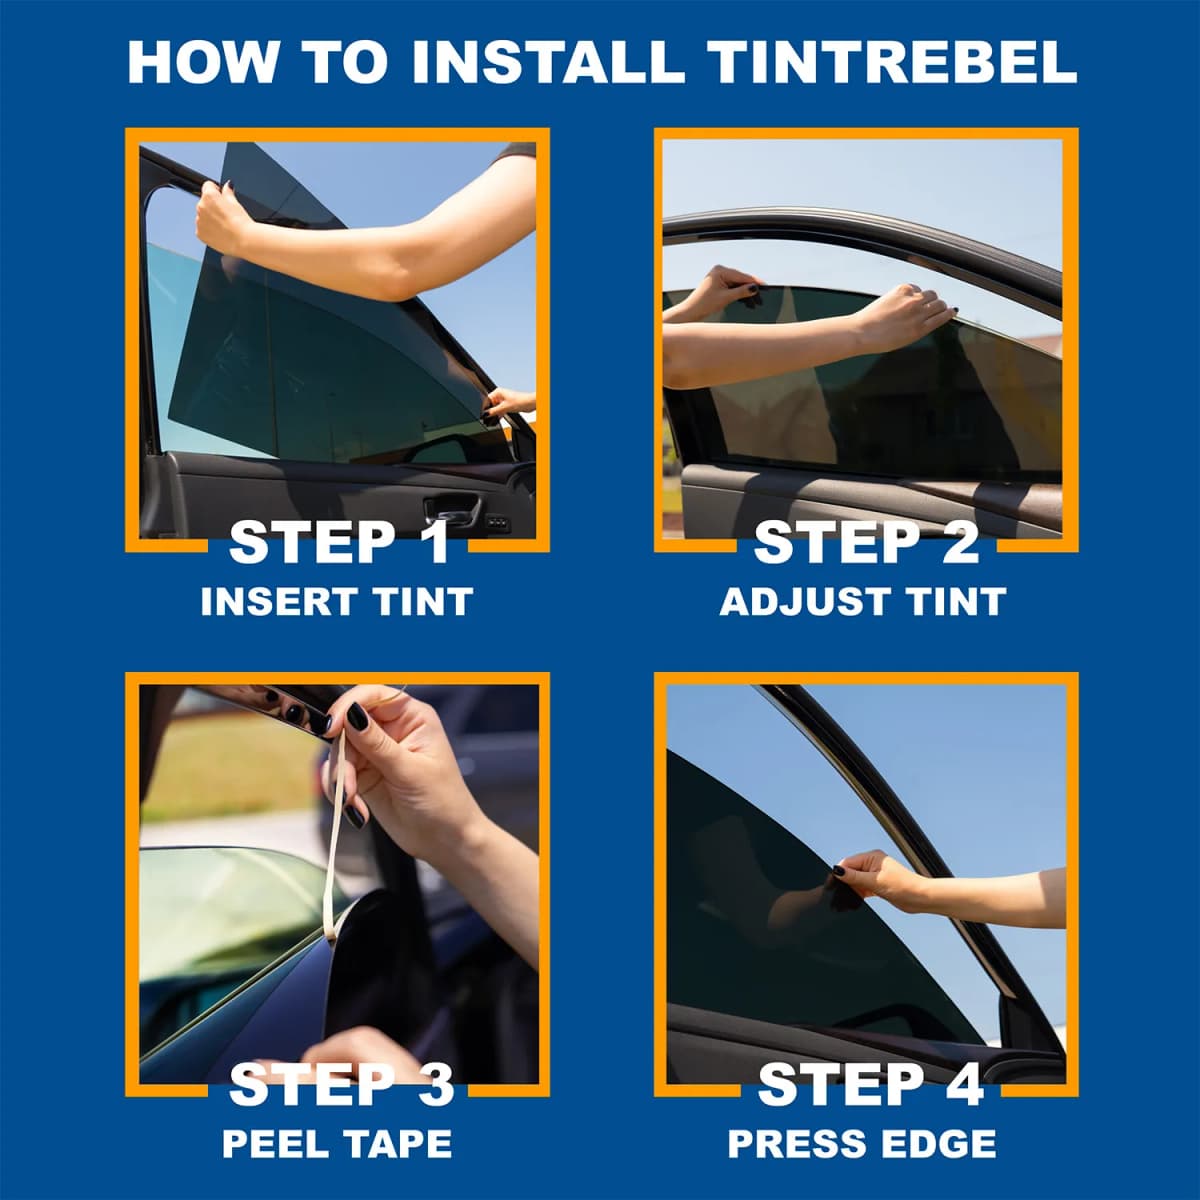
TintRebel is pre-cut for your exact vehicle and secured by an adhesive strip along the top edge - no water, no heat gun, no full-surface adhesive on the glass. Just insert, adjust, peel the liner, and press the edges. Done in about 1 minute per window.
No water. No wet mess.
Top-edge adhesive strip only
Video Tutorial
See the complete process from start to finish. About 1 minute per window, no tools, no experience needed.
See the tint on a real car, up close
Step-by-step video walkthrough
Dry Install
No water or soap needed
~1 Minute
Per window average
Reusable
Peel off & reapply anytime
Water, soap, squeegee, heat gun, razor blade, 2+ hours, professional installer
Slide in, adjust, press edges. Done. About 1 minute per window, by yourself
Traditional: scraping, chemicals, sticky residue, risk of damaging defroster lines
Just peel it off. No residue, no damage. Reuse it or move to another vehicle
Step by Step
Each window takes about 1 minute. No experience, no special tools, no professional installer needed.
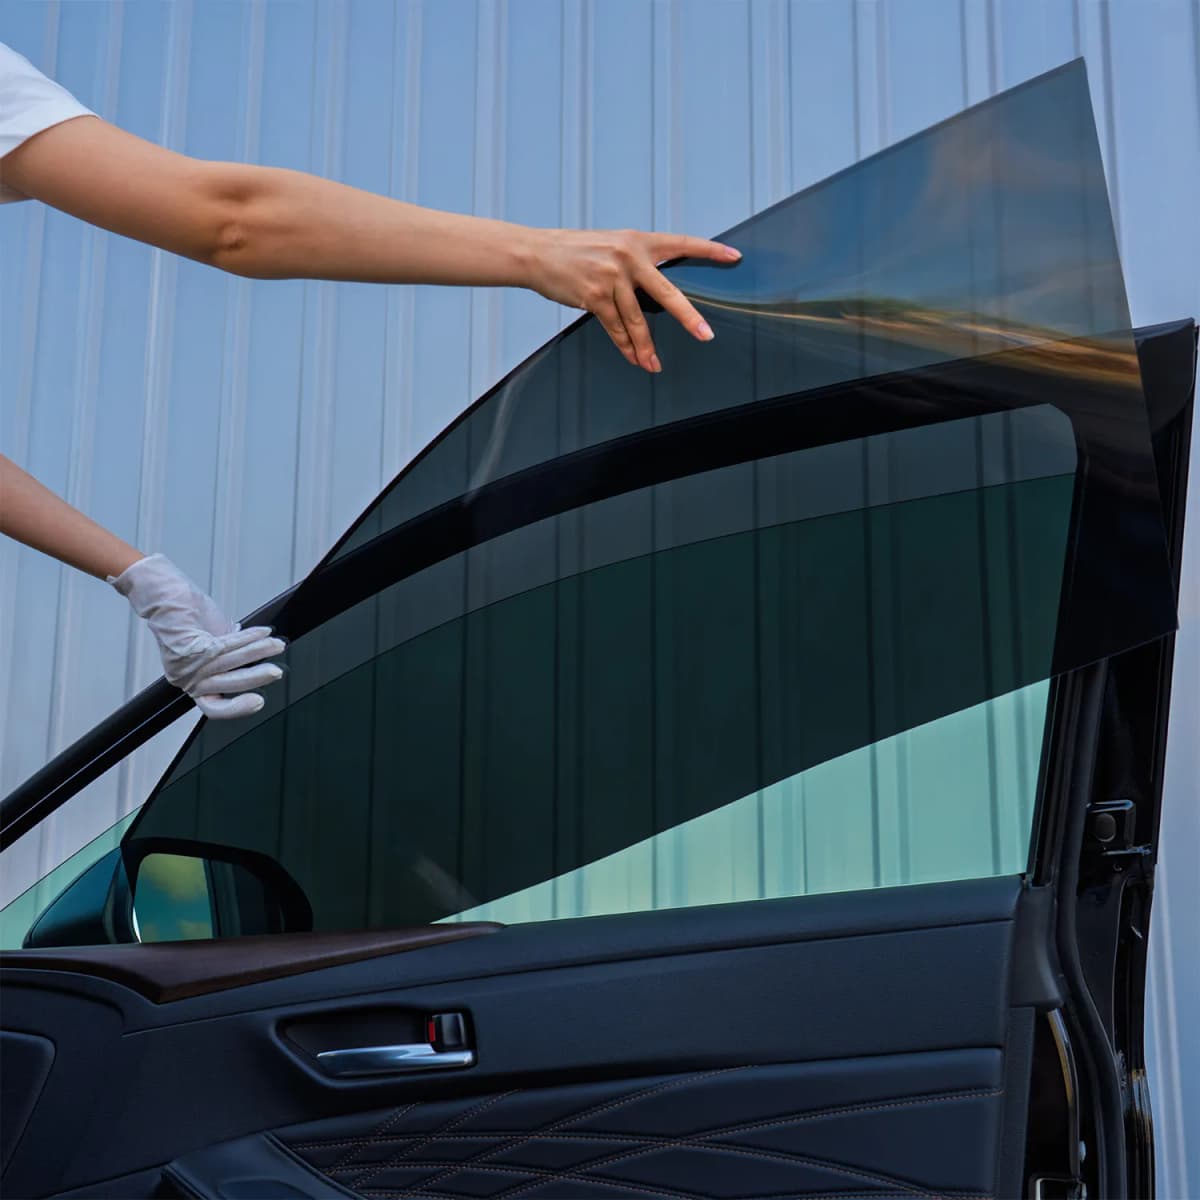
Put on the gloves included in your kit, clean the inside of the glass and make sure it is completely dry. Peel off the thin protective layer covering the film. Roll your window down about 20-30%, then slide the top edge of your pre-cut TintRebel film into the gap between the glass and the rubber seal. The film is cut for your exact vehicle and will look larger than the window opening - that is normal, the extra goes down into the window channel.
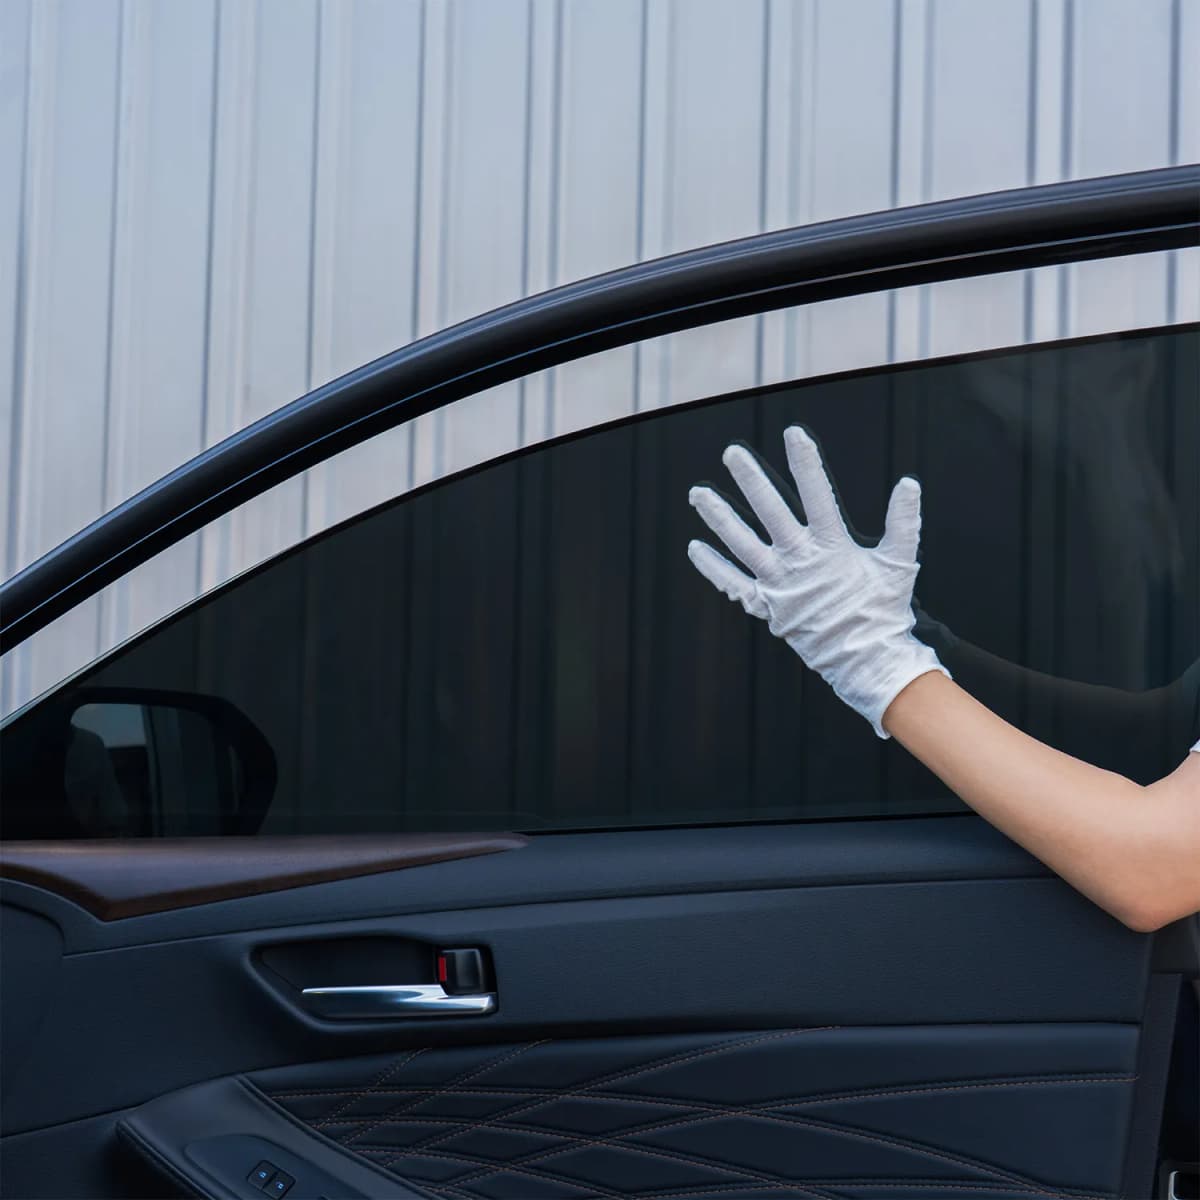
Roll the window back up. Because the film is precision-cut to your window's exact shape, it sits flat and stays put while you adjust the position until the edges align perfectly with the window frame - the fit is precise enough that there are no bubbles and the film won't shift when rolling the window up or down.
The double-sided adhesive strip along the top edge is covered by a thin protective liner. Once the tint is perfectly placed, simply peel off this liner to expose the strip. It comes off cleanly and leaves no residue on the film or glass.
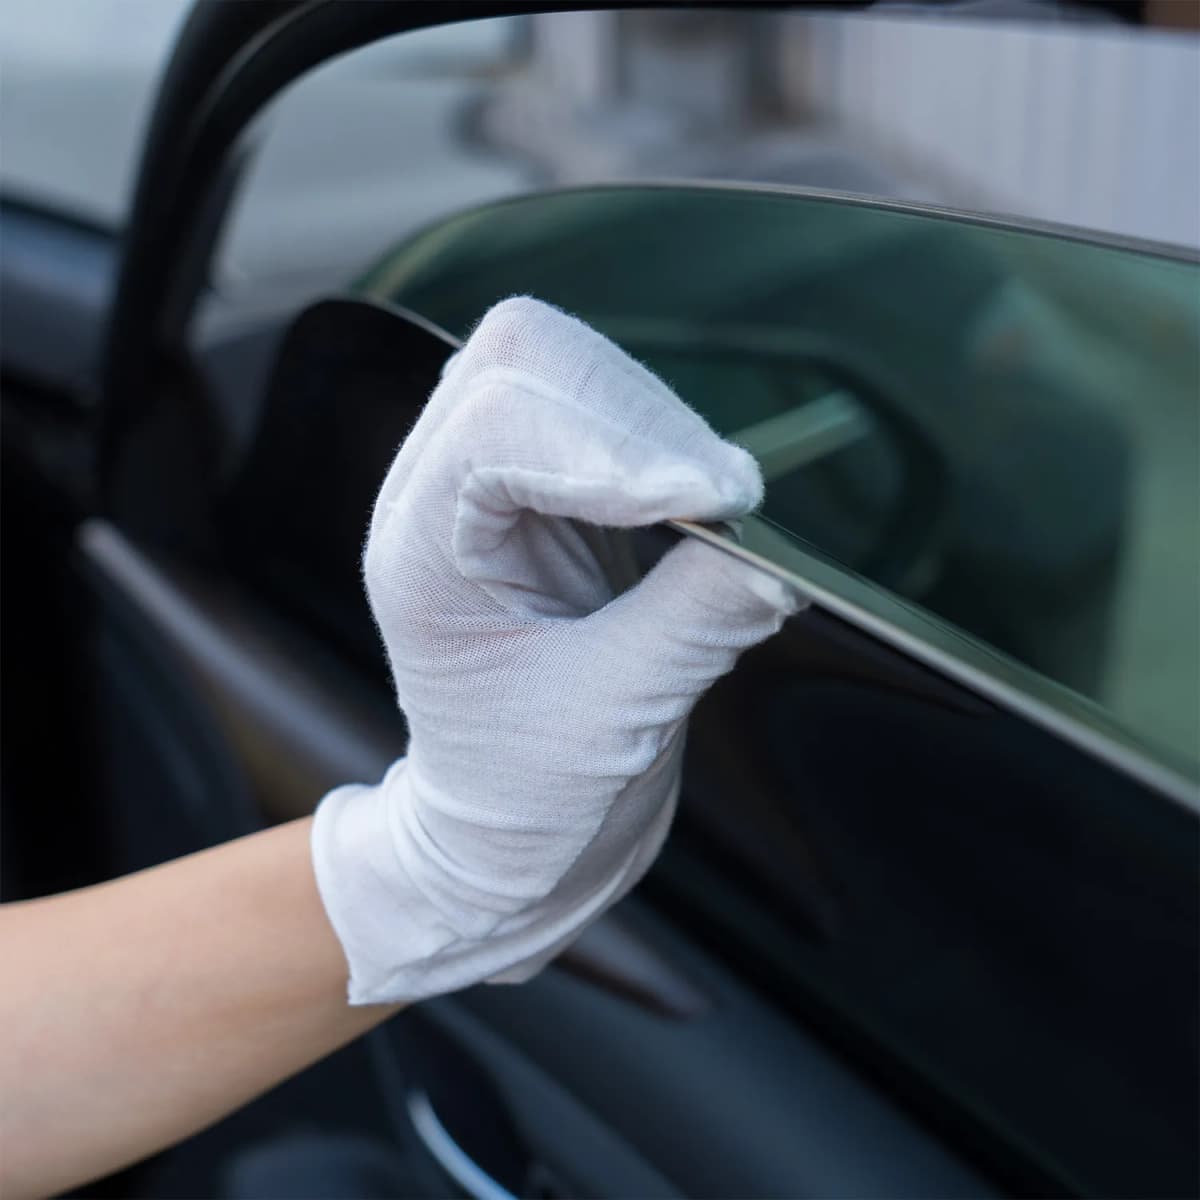
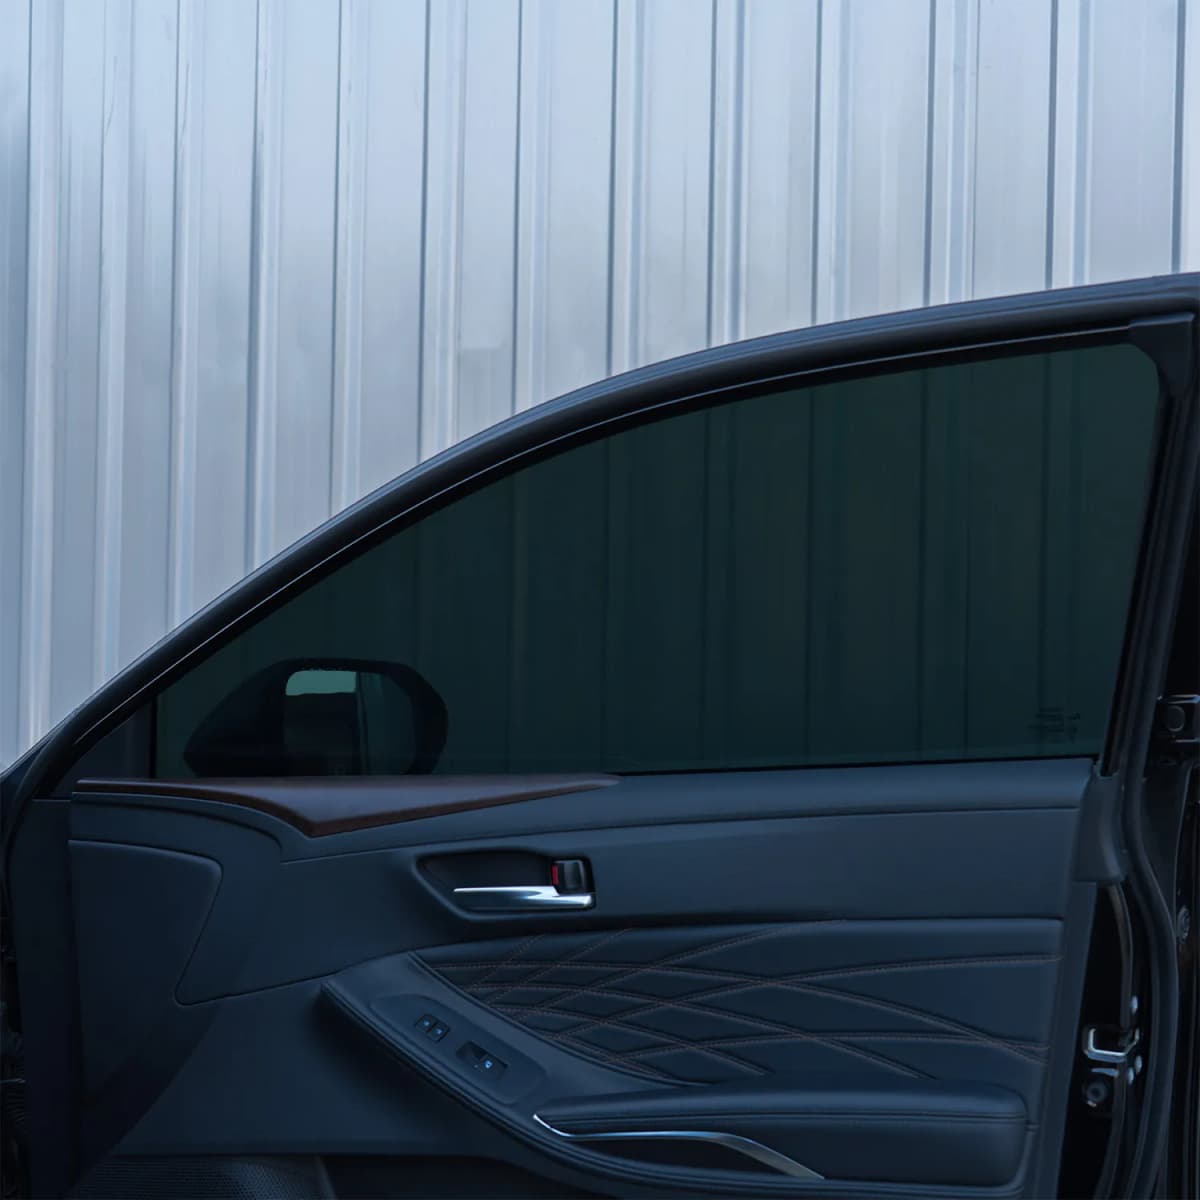
Run your finger along the edges of the film to ensure a secure seal against the rubber molding. That's it. Your TintRebel is installed. The nano-ceramic film is now blocking 99% of UV rays and rejecting up to 60% of solar heat.
The Result
Real installations on real vehicles. Clean, professional, done in minutes.
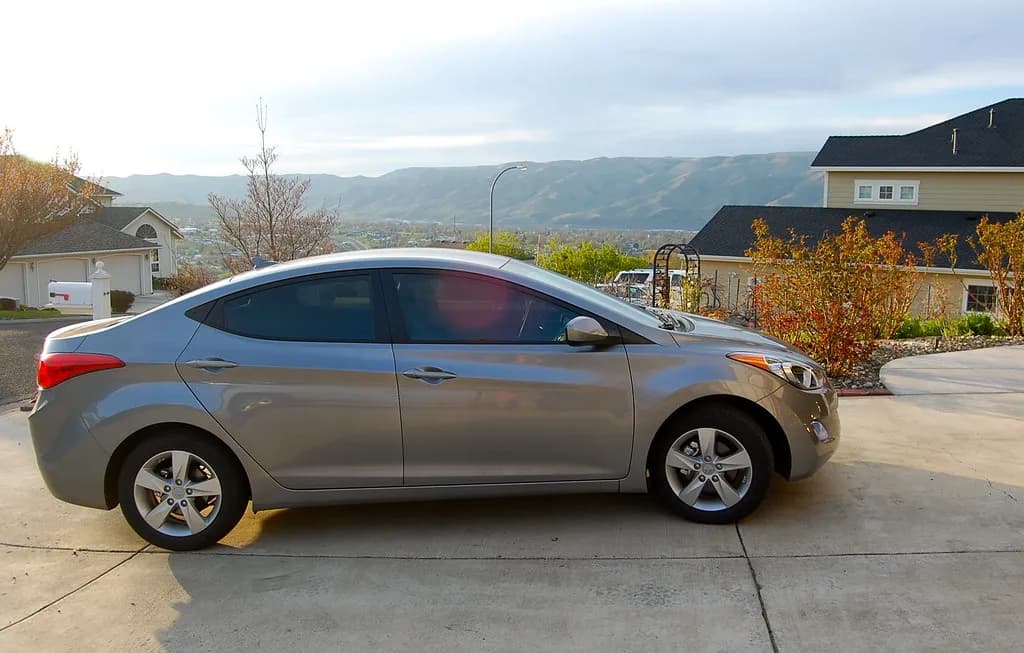
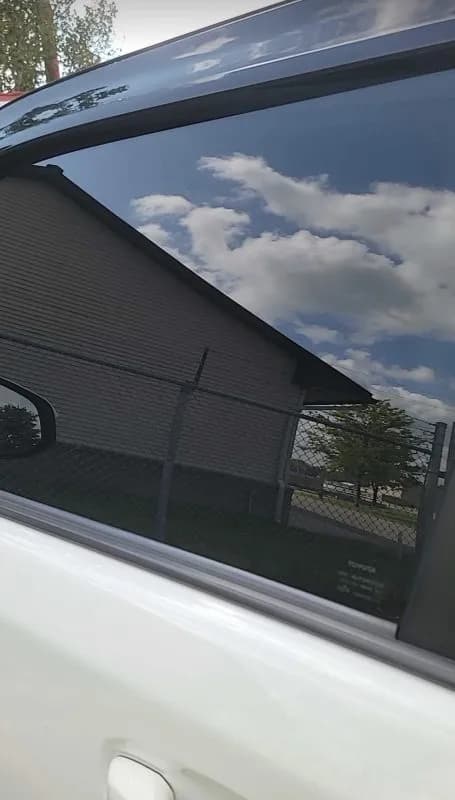
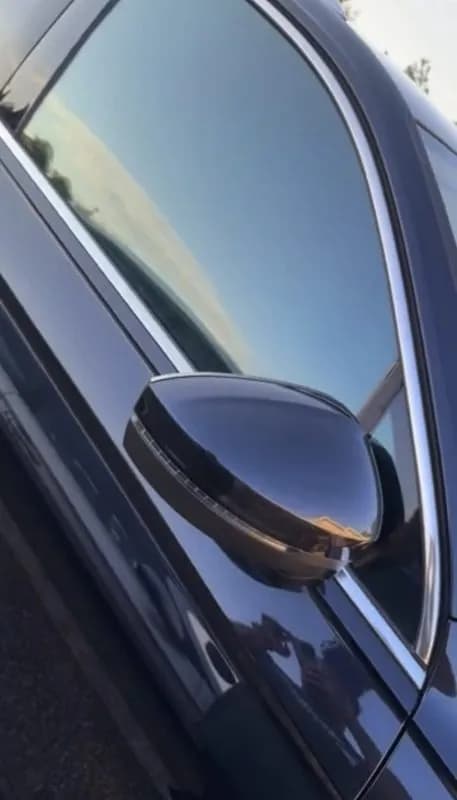
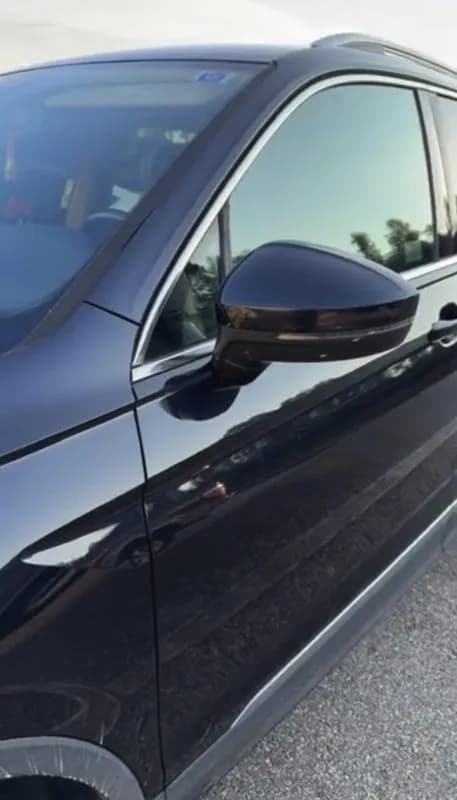
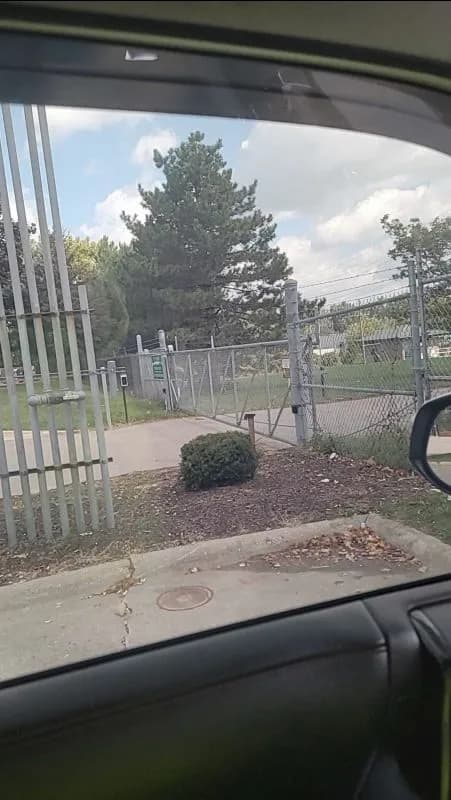
Same car, same window. The only difference is about 1 minute of your time.
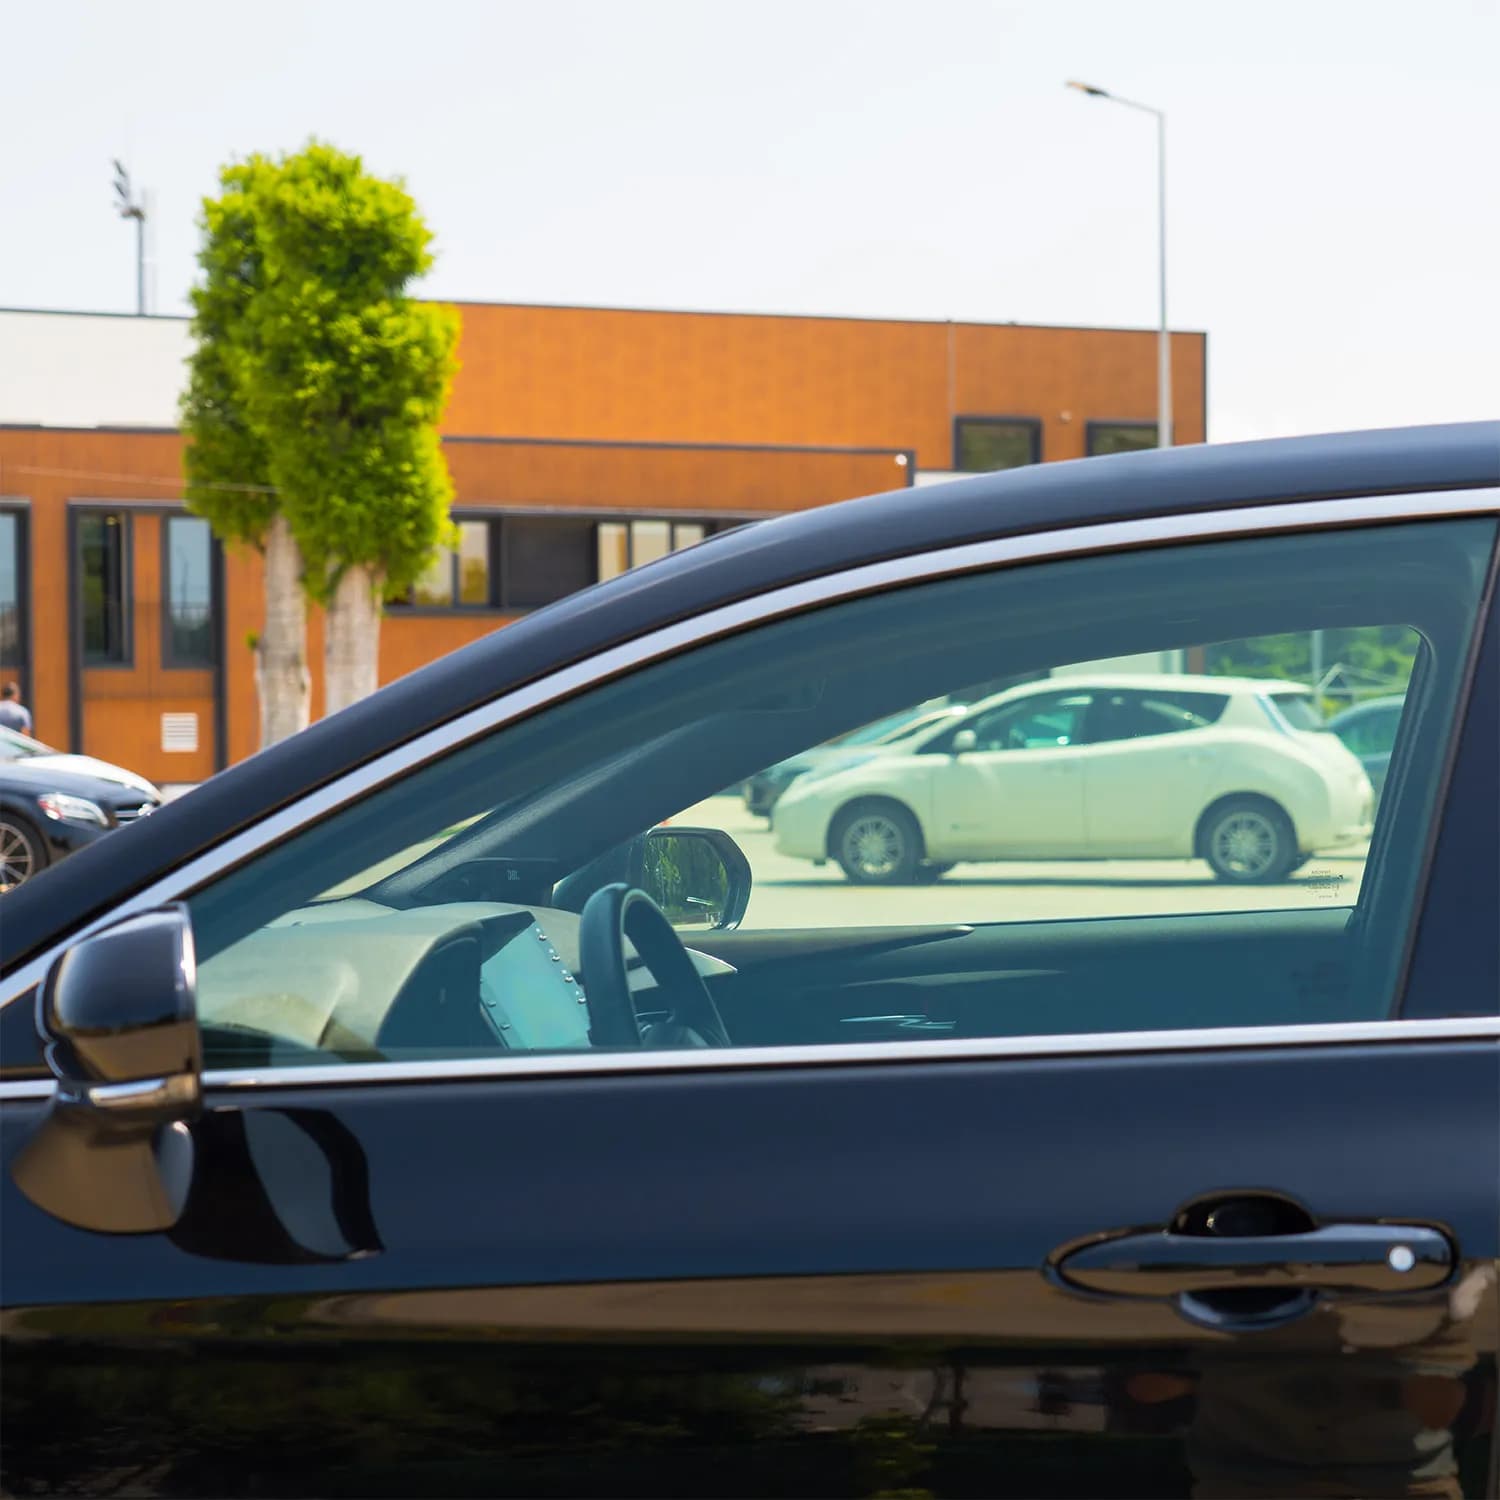
Before
No privacy, full UV exposure
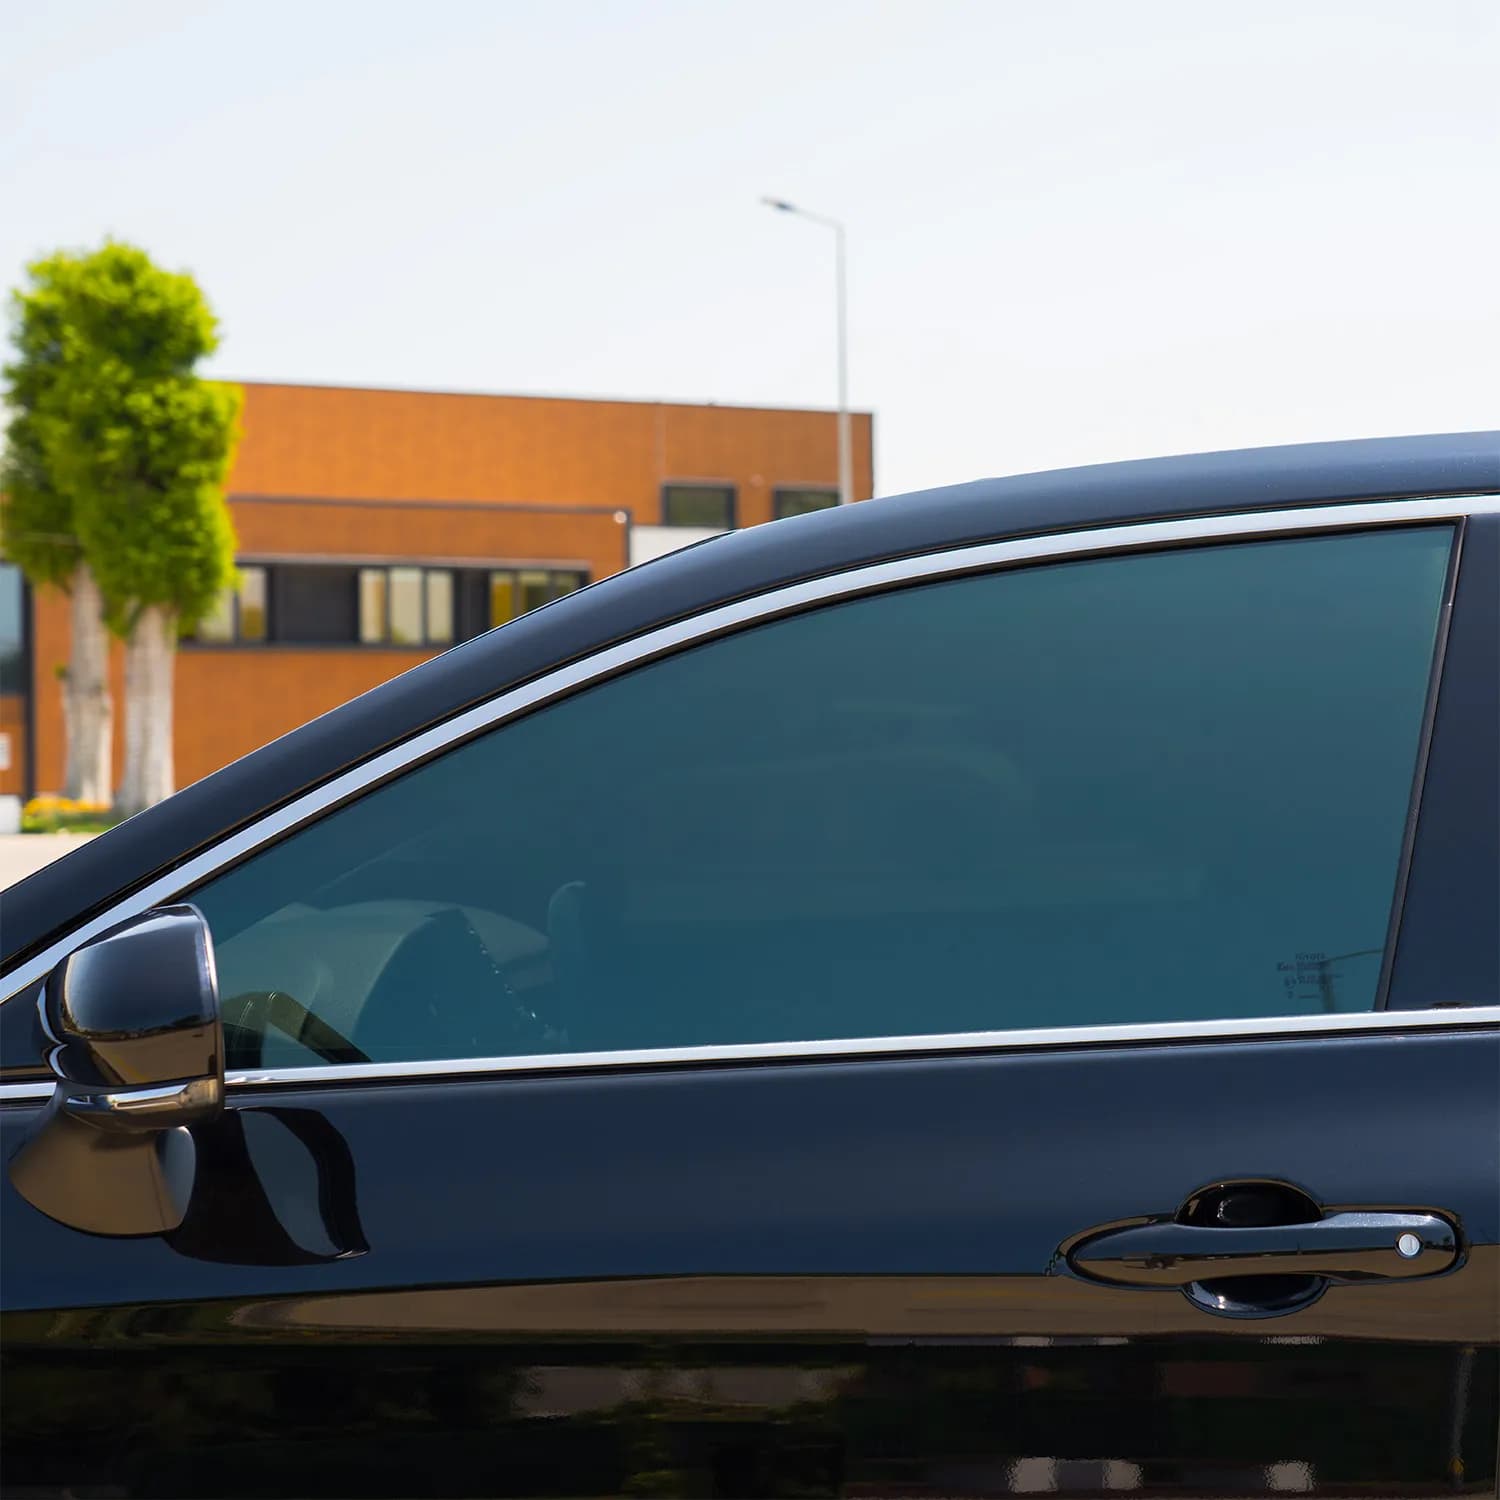
After
99% UV block, clean look
Important - Read Before Installing
Following these guidelines ensures a perfect, bubble-free installation every time. The #1 cause of bubbles is moisture - here's everything you need to know.
Do NOT wipe the glass or plastic with a wet cloth before installing the tint.
Any moisture trapped between the tint and the glass can cause bubbles.
Be careful after car washes or rainy weather - install only on a completely dry surface.
Wiping the window with a wet cloth before installation.
Removing and reinstalling the tint while it's raining or humid.
Moisture getting trapped from previous exposure to water.
Always wipe both the glass and the tint with a dry napkin or paper towel before installation.
Ensure the surface is completely dry before applying the tint.
Avoid removing or reinstalling in wet conditions.
Bubbles are caused by moisture and will disappear as the sun dries them out.
If you notice bubbles, leave the tint in place and allow sunlight to fully dry the area.
If needed, remove the tint, wipe both surfaces completely dry with a napkin or paper towel, and reapply.
Due to the nature of this issue and its causes, we are not responsible for bubbles caused by moisture. Bubbles from moisture are preventable by following the guidelines above.
No refunds or replacements will be issued for bubbles caused by installing on wet surfaces or in humid conditions. Always ensure both the glass and the tint are completely dry before installation.
Do This
Wipe glass & tint with dry napkin before installation
Don't Do This
Never use wet cloth or install after car wash / rain
If Bubbles Appear
Leave in sunlight - moisture bubbles disappear on their own
After Installation
For best results, use a mild, ammonia-free glass cleaner (such as ammonia-free Windex or a similar gentle formula). Never use ammonia-based cleaners, harsh chemicals, or abrasive materials - they can damage the coating.
If only the side facing the cabin needs cleaning, you can clean it while the film stays in the window.
Lightly spray an ammonia-free glass cleaner (such as ammonia-free Windex) onto a microfiber or paper towel - never directly onto the film.
Gently wipe away dust, fingerprints, or residue.
To clean the inner side, carefully remove the film from the window first.
Always rest it on a soft surface - paper padding, a microfiber cloth, or clean soft material - never on rough, dirty, or abrasive surfaces.
Clean gently with an ammonia-free glass cleaner and a soft microfiber or paper towel.
Let the film dry completely on a flat, safe surface before putting it back - never reinstall while it is still damp.
Normal conditions: about 10-15 minutes. Humid or cold conditions: 15-30 minutes.
Full evaporation prevents trapped moisture and keeps the film clear with proper adhesion.
Your Kit
No need to buy anything else. No spray bottles, no soap solution, no squeegee - TintRebel is completely dry-install. Just open, insert, and done.
Computer-cut to your exact vehicle's window specifications
Removable double-sided strip along the top edge - anchors the film, peels off clean
Step-by-step printed instructions included in every kit
For cleaning your windows before installation
Pro Tips
Always use a dry napkin or paper towel to wipe the glass before installing. Never a wet cloth.
Work in a shaded area or garage. Direct sunlight makes it harder to see alignment.
Roll the window down about 20-30% when inserting the film into the top channel.
Use slow, even pressure when pressing the edges for a seamless seal.
If it's not perfect on the first try, just peel it off and reposition - no damage, no waste.
Want to remove it? Peel from any corner. Reapply anytime, to the same or a different vehicle.
Common Questions
No. TintRebel is a completely dry installation - no water, no soap, no mess. The film is held by an adhesive strip along the top edge only, not by any liquid solution. In fact, water is the enemy - any moisture can cause bubbles.
About 1 minute per window. A full vehicle (all side windows) takes around 5-10 minutes total, depending on how many windows your vehicle has.
Absolutely. There's no skill involved - if you can slide a phone into a case, you can install TintRebel. Over 90% of our customers are first-time DIYers.
Bubbles are caused by moisture trapped between the tint and the glass. This happens when the window was wiped with a wet cloth, or installation was done after a car wash or in humid/rainy conditions. The good news: moisture bubbles disappear on their own as the sun dries the area. To fix immediately, remove the tint, wipe both surfaces completely dry with a napkin or paper towel, and reapply.
We recommend waiting until the windows are completely dry. After a car wash, moisture can linger in the rubber seals and window channels. Wait at least a few hours, or use a dry paper towel to thoroughly dry the glass and surrounding rubber seals before installing.
Just peel it off and try again. The film can be repositioned without any damage or degradation. The adhesive strip on the top edge is reusable and won't lose its hold.
No. The film is precision-cut to your window's exact shape, so it sits flat against the glass, and the top-edge adhesive strip anchors it. Windows roll up and down normally with the tint installed.
Only if the window shape matches. Each kit is computer-cut for a specific year, make, and model. However, you can remove and reapply to the same vehicle as many times as you want.
Peel from any corner. It comes off in one piece with zero residue and zero damage to your glass, defrosters, or window electronics. Takes about 10 seconds per window.
Ready?
Enter your vehicle and we'll show you exactly what fits. Free shipping on every order.